2回目のクロスリフォームをさせていただいたS様邸。
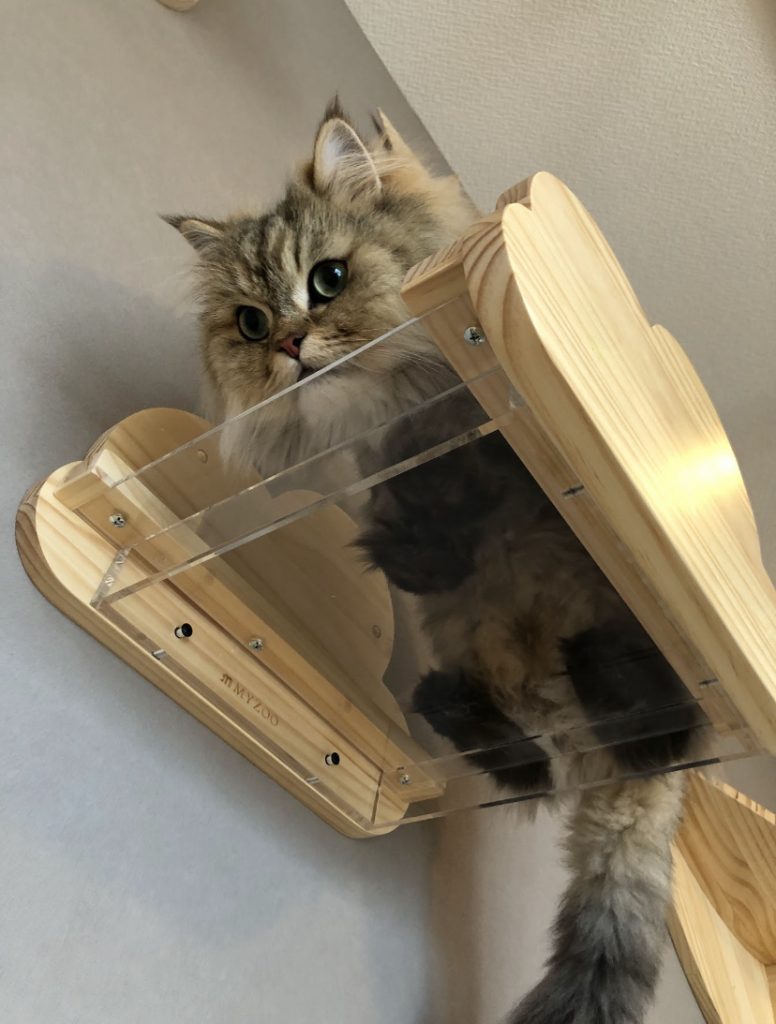
今回はエントランスとリビングのクロスリニューアルと、愛猫のためのキャットステップの施工でした。
※キャットステップはお施主様支給品です。

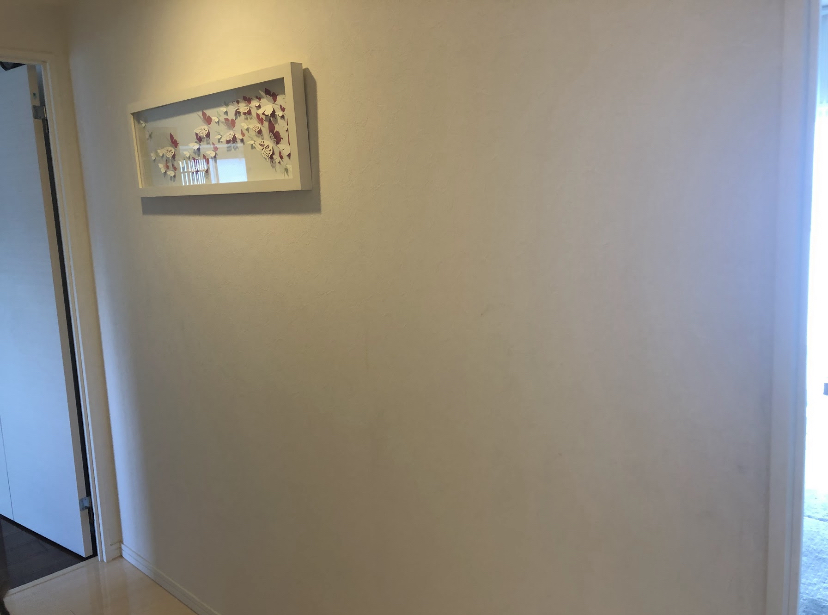
クロスの色柄決めは1回目のお打ち合わせ後、サンプルを取り寄せてご自宅で確認して頂き 数点の候補の中から今回は落ち着いたブルーグレイで行きましょう!ということになりました。
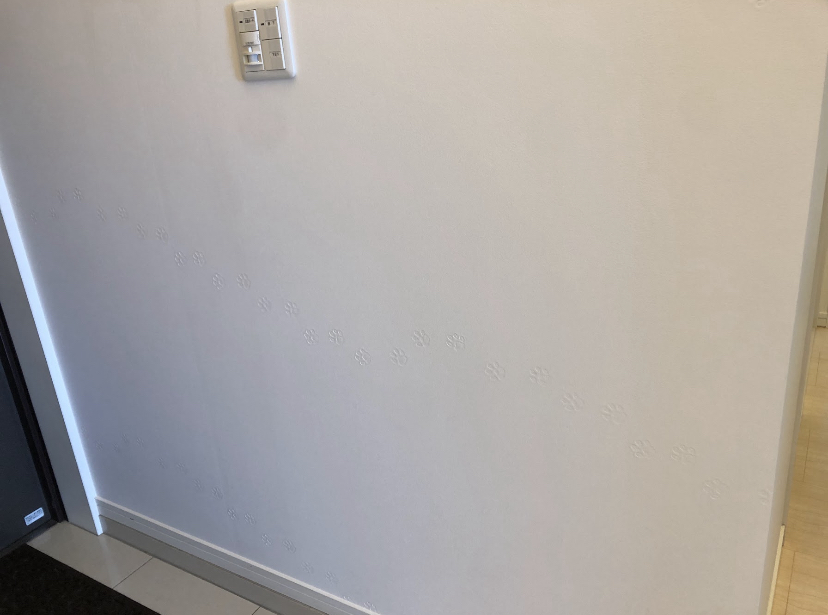
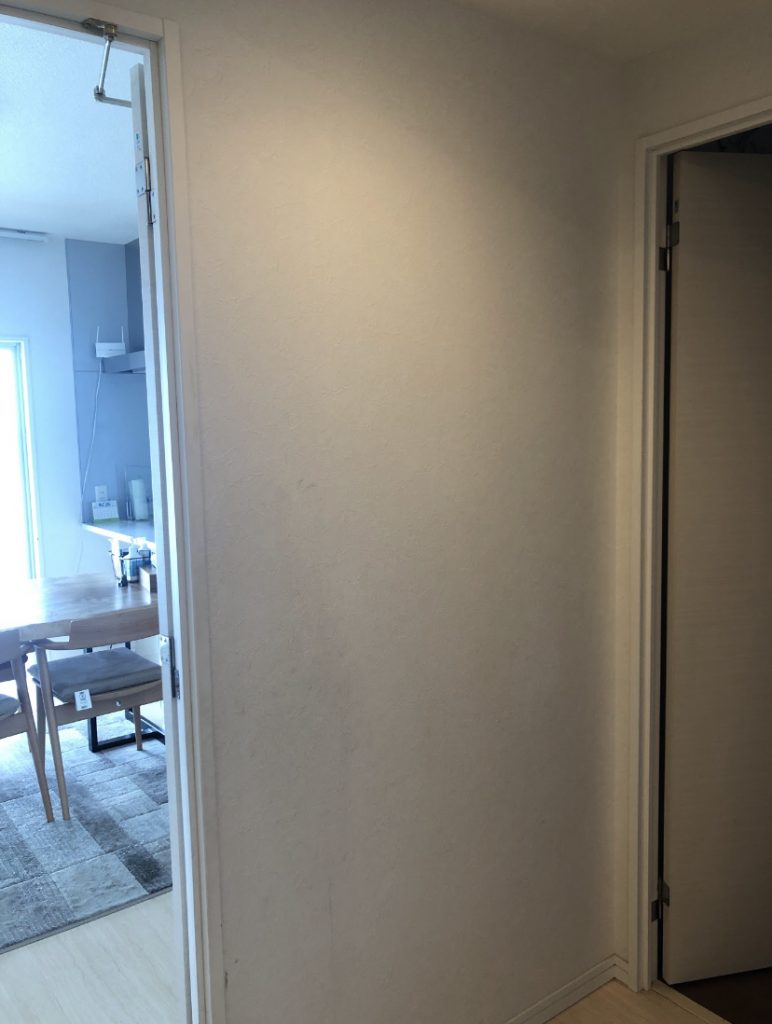
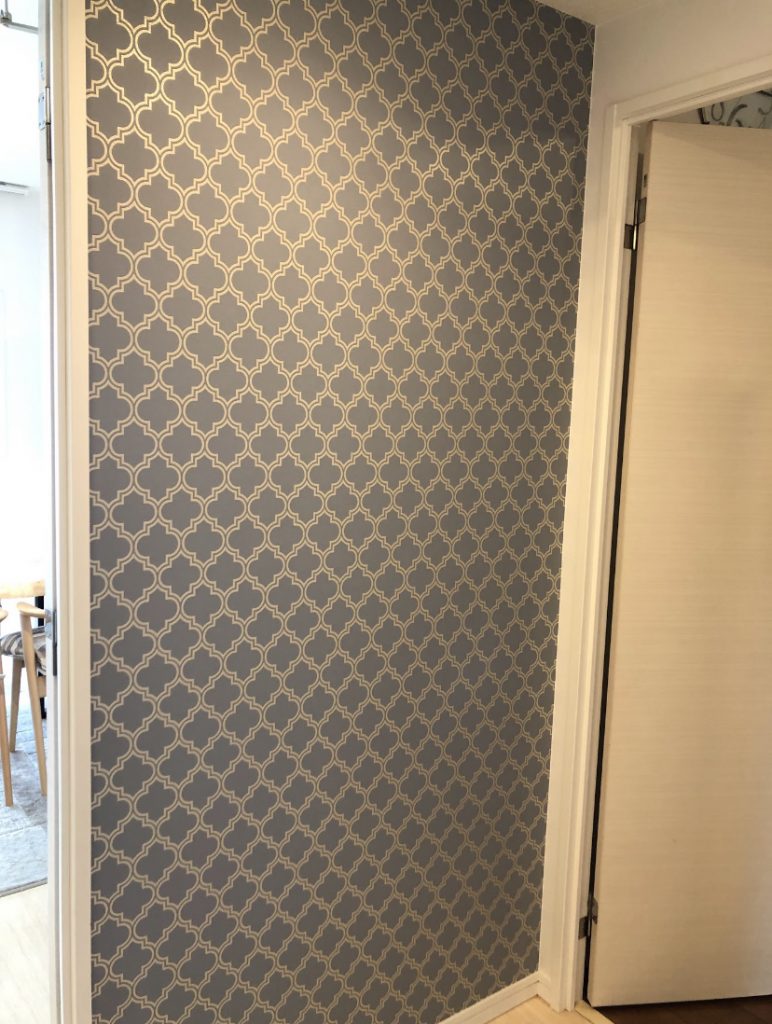
エントランス廻りには猫の足跡柄をひそかに
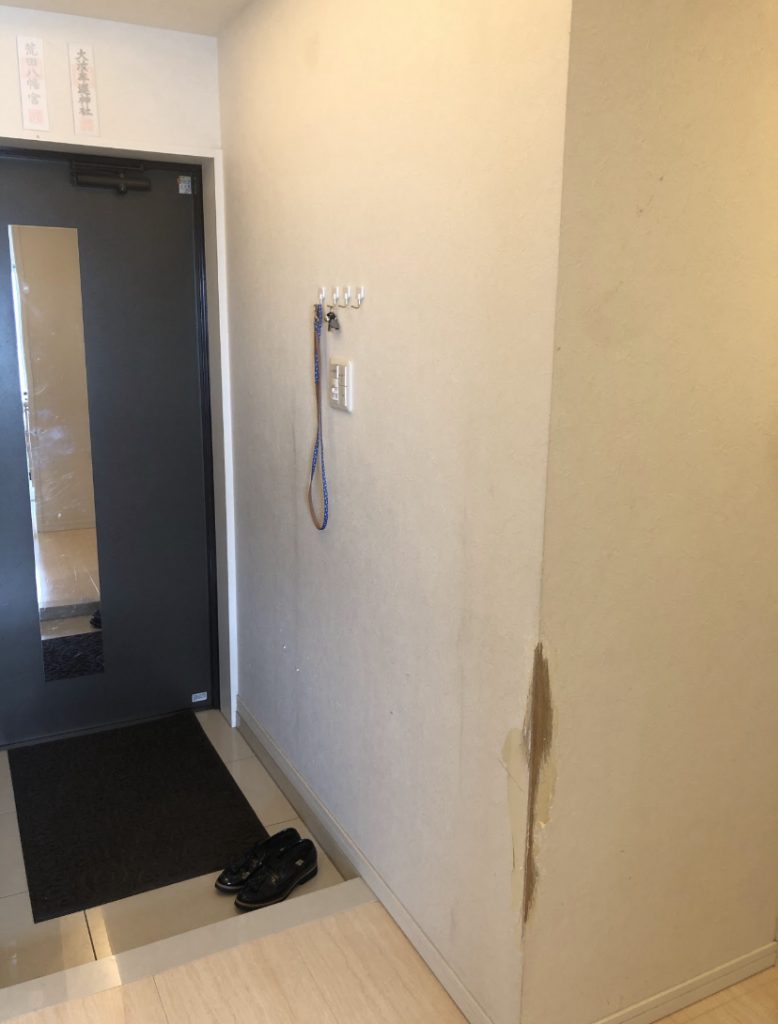
Before
After

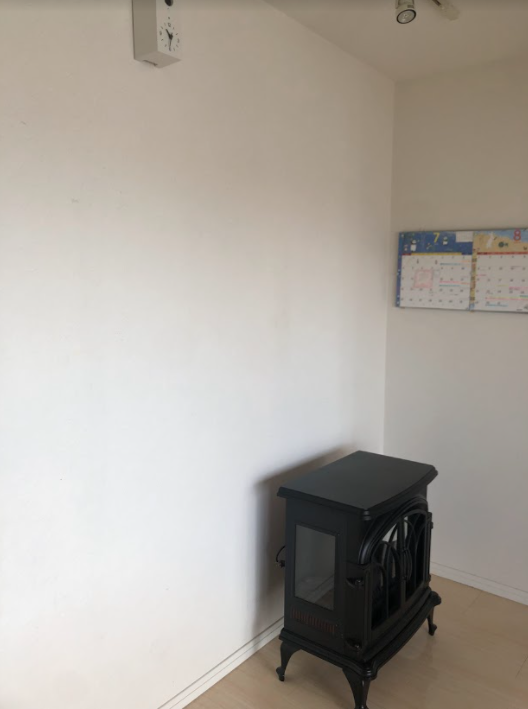
before After

リビングの壁はキャットステップを取り付けるために既存のクロスを剥がしてから必要な個所に下地を入れました。
これでにゃんこ達が飛び乗っても安心できます。
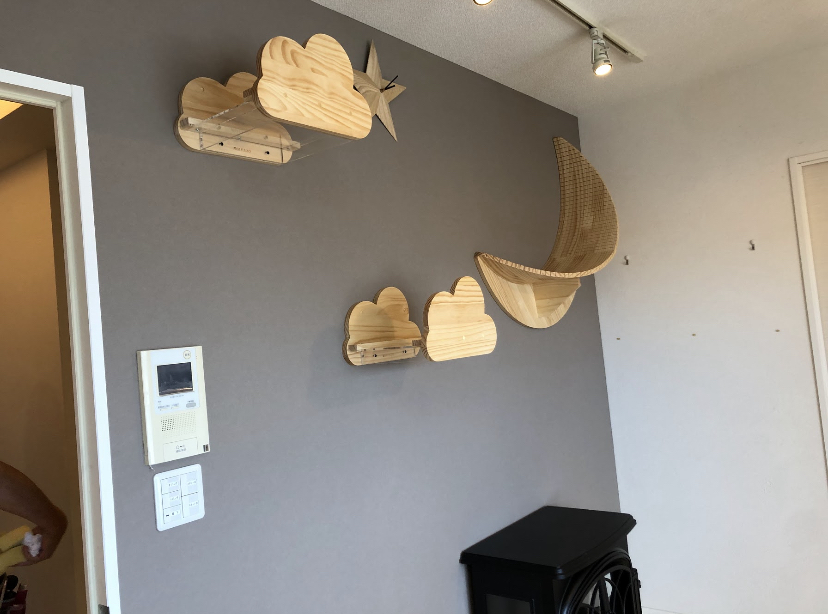
施工後に、そろりそろりと近づいてきて飛び乗ってくれた時はN様と一緒に感嘆の声を上げ、可愛さに悶絶しておりました。